A Bicycle Paint Job In 126 Easy Steps

I don't really know how many steps are involved, but a rattlecan paintjob which actually looks good and will stay on a bike for awhile takes some time and effort.
Here is the Rudge folding bike that Burd is having me build (and paint) for him. It came from Merry Olde England, via regular Parcel Post. Only took about six weeks to get from Blighty to here.
The paint was somewhat beat, and the decals were pretty much trashed, on one side, so the decision to paint it was made. Simple enough. Of course, we had many, many different proposals going back and forth as to what color, exactly, it should end up.
While we thought it over, I got to work on prepping the frame. Burd wanted no fittings other than the ones which lock the frame in place, and front brake studs. So, I got busy with the tools of the trade; angle grinder, propane torch, file and sandpaper.
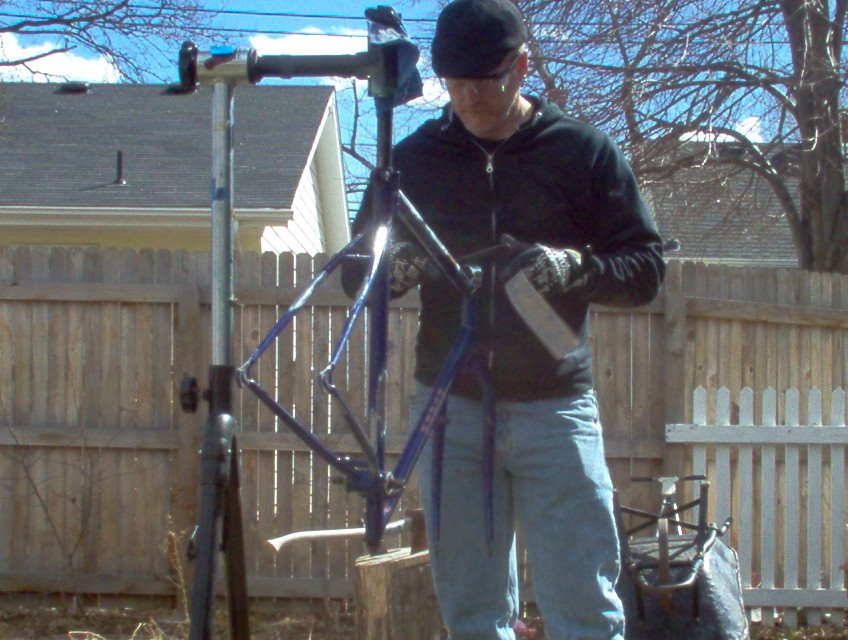
There were a lot of fittings to remove, including rear brake bosses, rear brake cable stop and cable guides, derailleur hanger and cable stops, a front drailleur braze-on and the eyelets on the dropouts. All of these required either cutting or torching the frame, then filing and sanding the area smooth. I had a day of good weather, which made the work relatively pleasant.
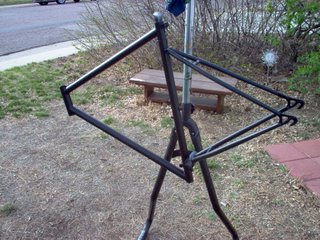
Then, I stripped off the remaining parts (headset, bottom bracket, QR's and pivot lock), and took it to the bead blaster to get all the paint off. 
I had the blaster use plastic media, because I was afraid that the sand would infiltrate the pivot mechanism (essentially one tube inside another, lubed via a grease zerk) and queer the works. Two days after dropping it off, I got the frame back from the blaster, and threw some black primer on it. You have to primer it pretty quickly, after blasting, or it will develop a layer of surface rust which then has to be sanded off before painting.
Then, a quick rough assembly just to make sure everything goes together before the paint goes on. I had to do some grinding and shaping inside the bottom bracket shell, then chase the threads (yay Campy tool kit!) in order to get the Isis-drive cartridge bottom bracket to fit through the bore. That's the kind of thing you don't want have to deal with while trying to protect a brand-new paint job.
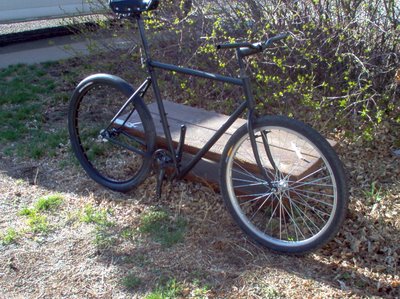
Due to a mix-up on the hub order, I only had the rear wheel built, so I used the front wheel off of my Cafe Scorcher to mock it up. At this point, we mounted three different bars to figure out what suited. A 2" rise MTB bar was the choice.
So, once again, I removed the components, and prepared to paint. It was finally decided that we would go with a white frame/black fork combo, with all black parts. This required another coat of (white) primer on the frame. Once it was dry, I applied three coats of Glossy White Krylon to the frame, an hour apart, and three coats of Glossy Black to the fork.
Tonight, I'll cook it in my bathroom (I have a space heater which will bring the temp up to 135 degrees F!), and then wet-sand, tomorrow, and apply a coat of Crystal Clear.
Then, cook it Sunday night, and repeat the process on Monday. Should, at that point, be done with the paint.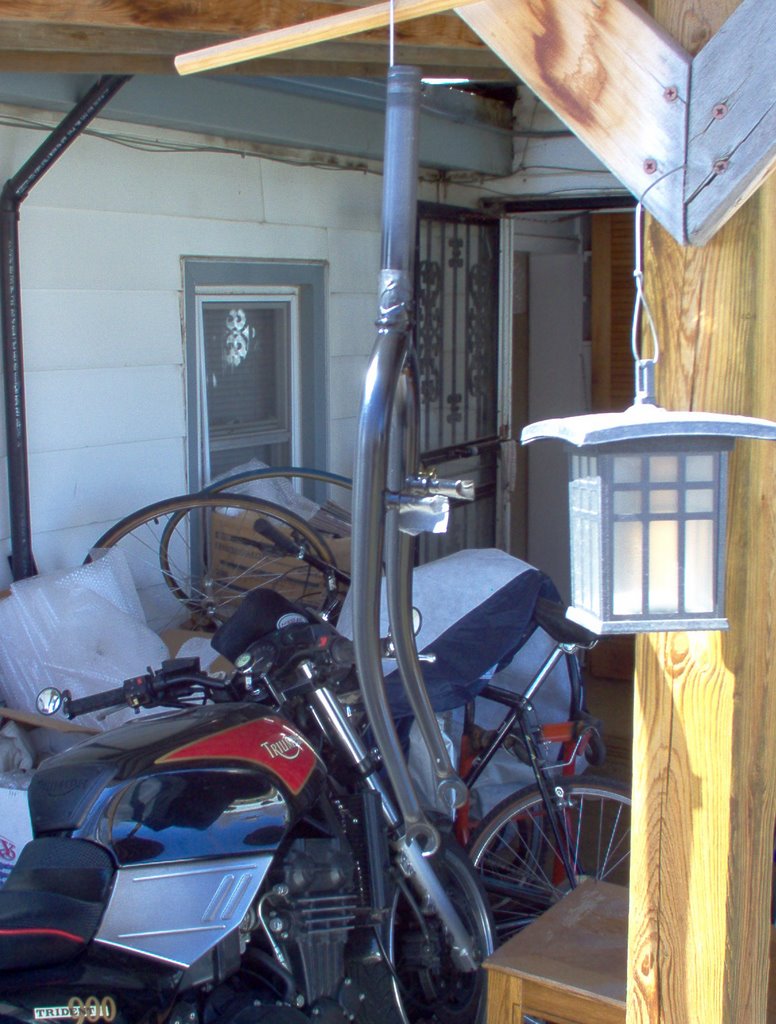
I'm basically painting this to match my dog, 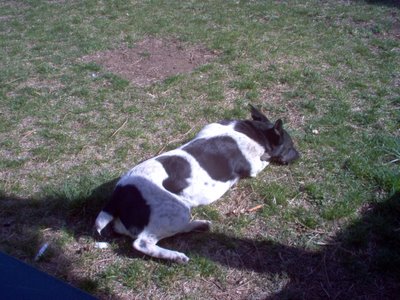 Jack.
Jack.
posted by Jon @ 5:28 PM
![]()


0 Comments:
Post a Comment
Subscribe to Post Comments [Atom]
<< Home